How to Change the Default Font in Microsoft Word
If you’ve ever opened Microsoft Word and found yourself immediately changing the font from Calibri or Times New Roman to something else - like Arial, Verdana, or your personal favorite - you’re not alone. The good news is that you don’t have to repeat this step every time you start a new document. By changing the default font in Word, you can set your preferred font once and have it automatically applied to all new documents.
Step 1: Open Microsoft Word
Start by opening Microsoft Word on your computer.
Step 2: Open the Font Settings
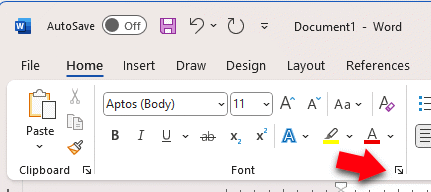
On the Home tab, look for the Font group. In the bottom-right corner, click the small dialog box launcher (a tiny arrow pointing down and to the right).
Step 3: Choose Your Preferred Font
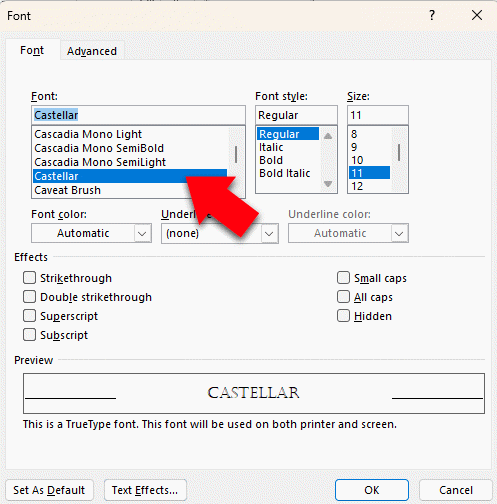
Inside the Font dialog box, select your preferred font family, style, and size.
Step 4: Set as Default
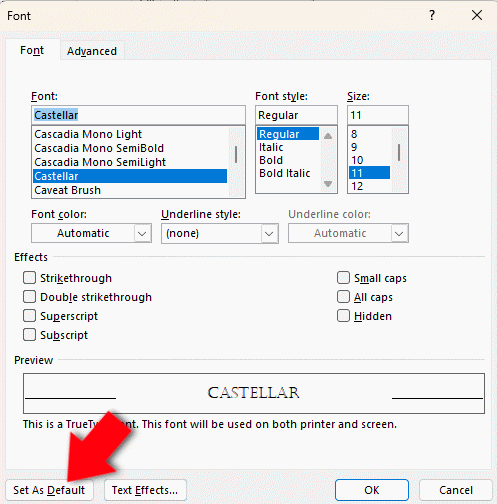
Click the Set As Default button at the bottom of the dialog box.
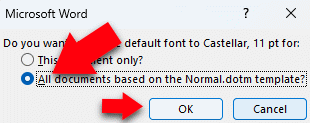
A pop-up will ask if you want the change to apply to just this document or to all new documents. Choose All documents based on the Normal template.
Step 5: Save and Test
Click OK. From now on, every new document will use your chosen font automatically.
Loading Comments ...
Comments
No comments have been added for this post.
You must be logged in to make a comment.